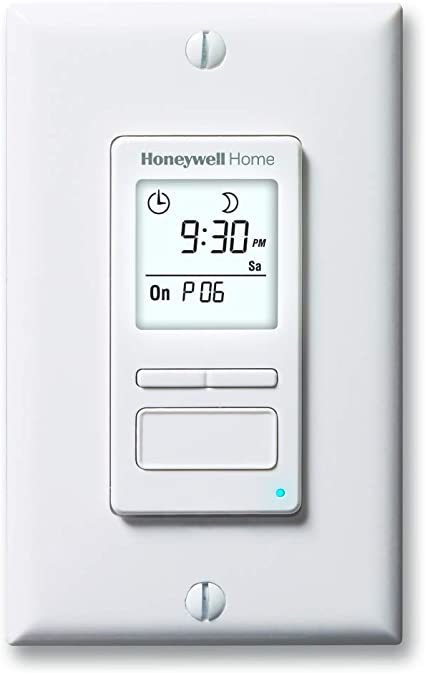
Introduction: Installing and setting up smart switches can seem intimidating if you’re not familiar with electrical work or home automation systems. However, with the right guidance, you can successfully install and configure smart switches in your home. In this blog post, we’ll provide a step-by-step installation and setup guide to help you get started with your smart switch installation.
- Pre-Installation Preparation: Before starting the installation process, turn off the power to the circuit you’ll be working on from your home’s electrical panel. It’s crucial to ensure your safety during the installation process.
- Remove Existing Switch: Remove the existing switch cover plate and unscrew the switch from the electrical box. Carefully disconnect the wires from the old switch, noting the wire colors and connections. Take a picture or make a diagram if needed for reference during reinstallation.
- Connect Smart Switch: Connect the wires from the electrical box to the smart switch according to the manufacturer’s instructions. Make sure to connect the wires to the appropriate terminals, such as the line, load, and neutral terminals. If your smart switch requires a neutral wire and your electrical box doesn’t have one, consult an electrician for further assistance.
- Mount Smart Switch: Once the wires are connected, carefully tuck them back into the electrical box. Mount the smart switch onto the box using the screws provided. Ensure the switch is securely fastened and aligned with the switch cover plate.
- Power Restoration and Setup: Turn the power back on from the electrical panel. Proceed to download the manufacturer’s app on your smartphone and follow the instructions to set up the smart switch. This usually involves connecting the switch to your home’s Wi-Fi network and configuring any additional settings, such as room assignment or automation preferences.
- Test and Troubleshooting: After completing the setup, test the smart switch to ensure it functions as expected. Try turning the switch on and off using the app or voice commands if integrated with a voice assistant. If you encounter any issues, refer to the manufacturer’s troubleshooting guide or contact their customer support for assistance.
Conclusion: Installing and setting up smart switches requires careful preparation, attention to detail, and adherence to safety precautions. By following this step-by-step guide, you can confidently install and configure smart switches in your home, transforming your lighting control experience and enjoying the benefits of home automation. Remember, if you’re uncomfortable working with electrical systems, it’s always best to consult a professional electrician to ensure a safe and proper installation.

